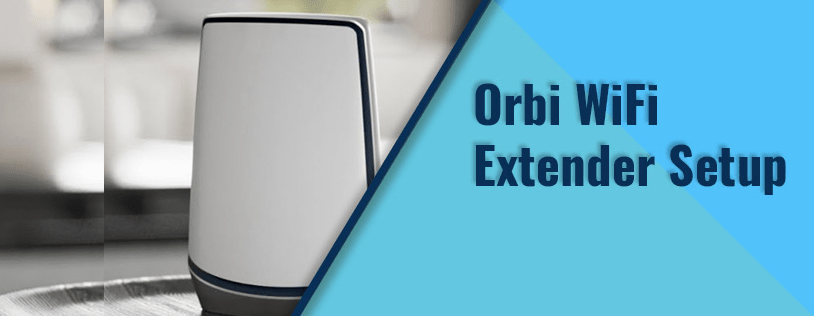
A Complete Guide For Orbi WiFi Extender Setup
Orbi Outdoor Satellite or better called Orbi wifi extender is a device meant to extend the Wi-Fi network coverage and improve signal strength for Netgear’s Orbi Wi-Fi router. It allows you to use your mobile phones outside the house and in a vast area, for example, a large backyard. The satellite is by default set to Orbi Mode. Orbi Mode works only with an Orbi wifi router. This article will explain the Orbi wifi extender setup in detailed steps. The Orbi setup is not like regular wifi extenders so follow the guidelines attentively and carefully.
Stepwise Instructions For Orbi Wifi Extender Setup:
To set up the orbi extender follow all the guidelines carefully:
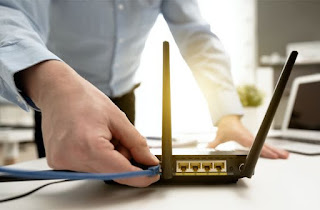
- The first step is to place the Orbi extender in close vicinity to your wifi router. This is required only during the setup process to rule out any obstruction between the connections. Once the setup is complete you may unplug it and then plug it anywhere.
- After that, plug it in an electrical supply socket, do not switch it on yet. In case, it automatically turns on and switches it off using the power button.
- After that, you have to press+hold the sync button, and while holding it press and leave the power on/off button on the wifi extender. This will switch on your wifi extender. Keep in mind to not release the sync button before time. Keep holding it until the Orbi satellite is switched on.
- Next, you must wait patiently for the LED light to blink in blue and white and now leave the Sync button. Once you release the button, you will observe;
- The blue LED will blink for a few moments when your satellite is starting up and moving from the orbi mode to extender mode.
- The satellite is set in extender mode and can be synced with the non-orbit wifi router.
- Now, from your PC device or smartphone, connect to the extended network shown by, NETGEAR_EXT SSID.
- Then you have to open the sitehttp://www.mywifi.ext.net from your preferred web browser.
- After this step, the NETGEAR installation assistant displays on the screen.
- To establish the connection between your Orbi satellite and wifi router network keep following the on-screen awards.
- To check the status of the wifi router, the lights will show the following colors;
- BLUE- This implies a good network connection.
- AMBER- This implies the connection is fair, but you can improve it by placing it near the wifi router.
- MAGENTA- This indicates that the network connection has failed. Consider moving it close to the wifi router again and try all the steps again.
Orbi Setup Complete!
With the steps mentioned above, your Orbi wifi extender setup is complete. You can now enjoy the extended signals and internet connection of your Netgear wifi range extender. The orbi setup
is not an easy sail, like other extenders. This works only with the
Orbi extenders. But, to associate it with other wifi routers, you must
follow the instructions from the above blog. Experience high internet
speed and wider network coverage.


Comments
Post a Comment